We now have a growing range of silicone rubber moulds taken from real stone masters in a range of styles and sizes, allowing you to cast your own stock of stones to decorate bases or to complete pieces of scenery. The following tutorial (provided by regular customer Matt “McFonz” Canning) is aimed at helping you see how quick and easy it is to quickly create your own stock of building blocks, using readily available hobby materials.
Materials needed (other than your mould) :
- casting material (in this case, powdered pollyfilla; hydrocal, plaster of paris, etc will follow the same procedure).
- small mixing container
- mixing stick (fast food coffee stirrers are ideal)
- tap water
- PVA glue
You may also find that a silicone-based spray polish, applied sparingly, will help release the cured pieces from the mould as it inevitably dried with age.
Decant a small amount of polyfilla into your mixing pot and add a healthy dollop of PVA. The addition of glue will toughen your castings and make them less powdery, while still allowing the intentional breaking of blocks to fake a realistic damaged stone appearance when needed. The mix at this stage should be similar to flaky pastry and no more fluid than that.
Slowly and carefully add water, mixing as you go, to achieve an even mix.
Final mix consistency should be roughly equivalent to toothpaste - allowing ease of application without too long a cure/demould cycle.
Using the stirrer, thoroughly apply the mix into the corners and face of the individual voids of the mould - simple filling of the mould will result in trapped air and more bubbles in the final casts.
Fill voids and scrape the sides of the voids clean with the stirrer as you progress to minimise the amount of cleanup needed later.
Keep going until all of your mixture is used. Note here that the mould has been placed on a flat board that can be easily moved if necessary without disturbing the curing mixture.
When mixture is exhausted, set aside to dry. This can take anything from half an hour to 8 hours depending on materials used and amount of added water - for best results leave overnight to cure thoroughly.
Gently flex the mould to see if the bricks pop up easily - if they do they are more than likely ready to come out, if not, and they seem a little soft leave them for longer. Start with one of the edge pieces as per the photo for minimal disturbance of the mould.
If bricks are fully cured, proceed to gently pop them from the mould using a flexing movement before teasing them out by hand. Well cured bricks should come out of the mould cleanly and easily.
Working in batches, gently sand the backs of your blocks more evenly as required, using a sheet of sandpaper and a flat block or board.
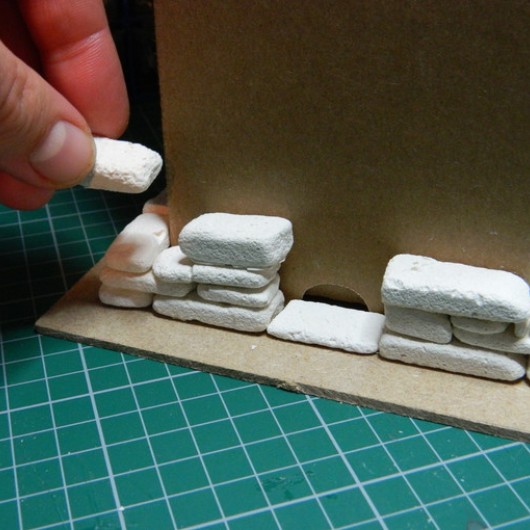
Build your scenery as required. Individual blocks can be glued together with superglue, PVA, or more of the same polyfilla, PVA, water mix used to cast the blocks.
A cardboard box is being used here as a former for a wall section; you can apply & build blocks directly onto cardboard, plastic, or other containers to build towers, houses, etc - or clad laser-cut carcasses to model more realistic surfaces than those supplied by the manufacturer.
Wall sections with box former removed. Prime & paint as normal !