Prior to pinning - cut off slottatab with snips, zona saw, etc. File or sand undersides of mini's feet to a flat surface for mounting of pins.
Models with integral bases require slightly more work - cut away as much of the tab as possible with snips before filing away remainder of excess metal.
NB All following stages can be replaced by cutting away enough of the miniature's slottatab to leave a peg under each foot; this will require larger holes to be made into the resin base but will essentially follow the same procedure otherwise.
Cut one length of wire (brass, paperclips, etc) for each mounting point (typically 1 per leg/foot) - 2 or more pins will make the finished mounting much more secure.
Don't worry too much about length at this stage - final mount will be cut to size at a later stage.
Drill hole(s) in the model in the relevant positions, without boring too deep - 3-4mm should be enough for a typical 28mm model (more for bigger models).
Superglue pin(s) into place.
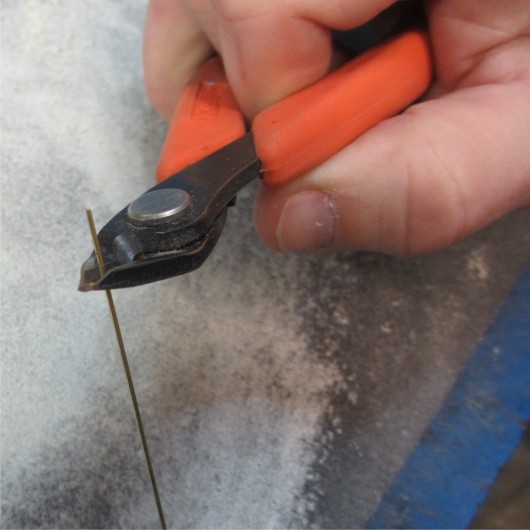
Once glue has set, trim the pin to length (slightly less than base thickness)
Put a generous blob of paint on each pin and position miniature in desired placement on the base - this will leave accurate marks for the relative positions of your pins.
Drill base in painted locations and dry-fit the miniature to make sure no further adjustment is needed.
With miniature in place, apply glue from the underside of your base and activate with accelerator.
Set aside to cure thoroughly. If necessary, fill any remaining gaps with epoxy putty. Give base underside a light sand on a flat sheet of wet-n-dry to make sure it sits level and that no excess, dried glue prevents the model sitting flat on the tabletop.